


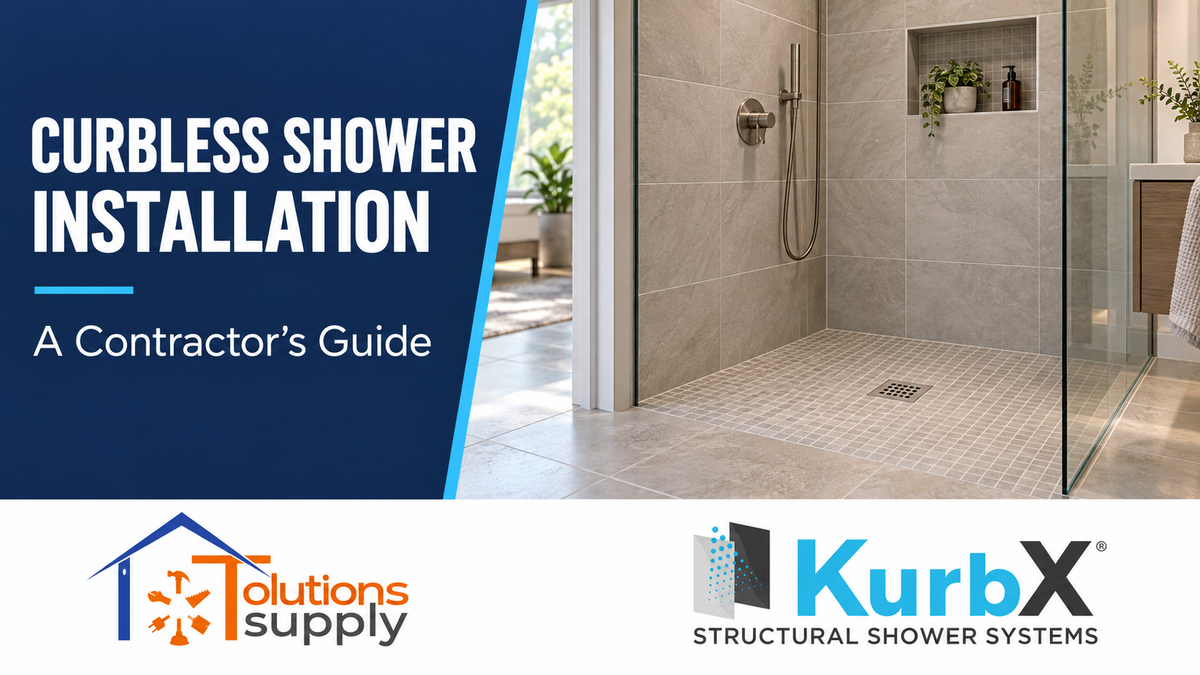
A shower can look great on the final walkthrough and still become an expensive problem later. Drainage, support, waterproofing, and the transition into the bathroom all need to work together beneath the tile.
For contractors, that makes the shower system an early planning decision. The right approach should fit the framing, make sense for the plumbing, and give your crew a clear installation sequence. It should also leave room for the finish the homeowner actually wants.
A structural shower pan offers one way to simplify that work. The KurbX system uses a prefabricated, pitched base designed for tile, with installation methods that include direct-to-joist applications. Most KurbX pan installations do not require a mortar bed beneath the base. Those features can reduce some of the work involved in forming a shower floor on site, provided the assembly is installed correctly. See the manufacturer’s structural shower system overview.
What Is a Structural Shower Pan?
A structural shower pan is a load-supporting shower base designed to carry the tile assembly over the supports specified by its manufacturer. In a suitable KurbX curbless installation, the pan replaces the subfloor within the shower footprint and installs over prepared joists and blocking.
That lower starting point helps contractors plan a shower entrance without a raised curb. The finished transition still depends on the surrounding floor assembly, tile thickness, and installation details.
Think through those elevations before demolition. A homeowner may ask for a continuous-looking floor, but getting there requires coordination between the framing, plumbing, waterproofing, and tile work.
Why Shower System Selection Matters to Your Estimate
Material price is only one part of a shower bid. Your estimate also needs to account for layout, substrate correction, plumbing changes, waterproofing, inspections, and return visits.
Before choosing a system, ask:
-
Where will the drain fall relative to the joists and existing piping?
-
What work is needed to establish the finished floor height?
-
Can the plumbing connection be reached from below?
-
Which parts and consumables need to be ordered separately?
-
When can the assembly be tested and released for tile?
These questions are easier to answer before the bathroom is opened up. They also make it easier to explain the price to a customer. A clear scope helps distinguish necessary preparation from optional finish upgrades.
For repeat bathroom work, using a familiar system can also make estimating and crew handoffs more consistent. The benefit comes from learning the details and following them on every job.
What Comes in the KurbX Shower System Bundle?
The KurbX shower system bundle from Tolutions Supply brings together four core components:
-
A KurbX structural shower pan in the selected size and drain location.
-
A square drain assembly with the selected pattern and finish.
-
Installation Package 1 with a 2-inch PVC drain waste connector.
-
The SeeLIT MAX waterproofing kit.
Installation Package 1 includes the drain support block, support cleats, approved construction adhesive, pan-fastening screws, silicone, and a driver bit. The waterproofing kit includes liquid membrane, joint tape, corners, sealant, and application accessories.
This makes the bundle a useful starting point for the material takeoff. You still need to plan for tile, setting materials, backer materials, framing supplies, and any additional plumbing or waterproofing required by the project.
Package 1 is intended for curbless wood-substrate installations and curbed wood-substrate installations without plumbing access from underneath. Confirm the appropriate package before using the system on concrete or another assembly. The manufacturer’s installation package specifications explain those distinctions.
Choose the Shower Pan Size and Drain Location First
Do not assume every pan size has the same drain options. The bundle offers the following configurations:
| Shower pan size | Center drain | Offset drain |
|---|---|---|
| 60 × 36 inches | Yes | Yes, for tub replacement layouts |
| 48 × 48 inches | Yes | No |
| 60 × 48 inches | Yes | No |
| 59 × 59 inches | Yes | No |
| 71 × 47¼ inches | Yes | No |
The offset option can be useful when replacing a bathtub, but it does not guarantee that the existing piping will line up. Measure the actual drain position and inspect the available space before committing to the layout.
Select the drain finish at the same time as the shower fixtures. Getting that decision approved early helps avoid a last-minute change after the installer has already planned the tile cuts.
How to Install a KurbX Curbless Shower System
The following sequence covers the main steps for a wood-framed curbless installation. Use the complete KurbX curbless installation instructions for measurements, adhesive placement, fastening, and the plumbing scenario that matches your job.
1. Check the Floor and Confirm Drain Clearance
Start with a clean floor and check for level and flatness. Dry-fit the pan and confirm that the drain clears joists, pipes, and other concealed services.
For remodeling that requires a plumbing adjustment, KurbX describes an exploratory opening to verify drain clearance. Confirm that clearance before cutting the pan. Record layout measurements from two adjacent walls so the drain support can be positioned accurately later.
This is also the time to resolve the bathroom-to-shower transition. Include all finish layers when comparing elevations.
2. Prepare the Opening and Install Support Blocking
Remove the subfloor within the planned footprint using the manufacturer’s method. Clean the joist tops and correct the supporting surface as required for the assembly.
Install the drain support block on its cleats, with the block flush with the joist tops. Complete the plumbing work for the applicable installation scenario.
KurbX requires perimeter and intermediate blocking. Its instructions call for flat 2×4 blocking around the perimeter and between joists at 16 inches on center. The perimeter blocking supports both the remaining subfloor edge and the pan. Do not treat the drain support block as a substitute for this blocking.
3. Apply Adhesive, Position the Gaskets, and Set the Pan
Apply the approved construction adhesive using the prescribed pattern and quantity for the pan size. The instructions specify different bead sizes at the perimeter, drain area, and supporting framing. Keep adhesive clear of the drain waste connector as directed.
Install the drain gaskets before placing the pan: the Teflon gasket goes first, followed by the rubber gasket, which contacts the underside of the pan.
Set the pan into the adhesive and apply weight across the surface as instructed. Complete the threaded drain connection using the supplied silicone in the specified location, and remove excess silicone from surfaces that will receive waterproofing.
4. Fasten the Pan and Verify Its Pitch
Secure the pan through the countersunk holes using the specified screws. If trimming removed factory holes, recreate them according to the manufacturer’s drilling and countersinking instructions.
Check the installed pitch with a straightedge spanning the drain area. Resolve any support or seating issue before covering the assembly. A factory-pitched pan still needs a correctly prepared supporting structure.
5. Install Backer Materials and Apply Waterproofing
Prepare the surrounding floor and wall backer materials, then treat fasteners and gaps as directed. Clean the surfaces and allow them to dry before applying SeeLIT.
The newer KurbX curbless manual makes an important distinction: apply only one coat of waterproofing to the field of the pan for bonding purposes. Its wall sequence uses a vertical primer coat, embedded joint tape and corners, and a second horizontal coat.
Use KurbX-provided joint tape and maintain the specified overlaps. The manual also directs the pan’s roller coat to extend at least 12 inches onto the surrounding floor tile backer. Additional waterproofing scope depends on the shower design.
Follow these assembly-specific instructions rather than applying one generic coating method everywhere.
6. Allow Cure Time and Water-Test the Assembly
SeeLIT requires at least 12 hours of curing before a water test. Temperature and humidity affect drying, so build the actual site conditions into your schedule. A membrane that is ready for tile is not necessarily ready to be water-tested.
Plan a suitable temporary dam for the curbless entrance and follow the applicable inspection and testing requirements before tile installation. Consult the SeeLIT technical data for curing and application information.
7. Set the Drain Height and Install Tile
Adjust and support the drain riser using the instructions for the selected drain assembly. Coordinate its height with the tile and mortar thickness.
For large-format tile, KurbX specifies improved modified dry-set mortar meeting ANSI A118.15, directional troweling, complete back-buttering, and at least 95% mortar coverage. Follow the large-format tile installation guidelines and protect the finished work until the setting materials have cured.
Practical Ways to Reduce Shower Installation Callbacks
A few simple habits can make the job easier to document and hand over.
Photograph the drain connection and blocking before setting the pan. Record the waterproofing products used and the date of the water test. Keep the current installation instructions with the project file so the plumber and tile installer are working from the same details.
Confirm the showerhead and enclosure layout before the finish stage. A curbless opening needs a water-containment plan, especially when the customer wants an open shower. Discuss spray direction and glass placement early instead of trying to solve escaping water after installation.
Finally, separate curing time from hands-on labor in your schedule. Allowing a product to dry properly should be part of the estimate, not an unexpected delay that pressures the crew to move ahead.
Frequently Asked Questions About KurbX Shower Installation
Does a KurbX shower pan need a mortar bed underneath?
Most KurbX pan installations do not require a mortar bed beneath the base. The correct method depends on the substrate and installation type. Tile still requires an appropriate setting mortar.
Can contractors cut a KurbX pan to fit?
Yes. KurbX provides trimming guidance, including recreating countersunk fastening holes when needed. Confirm drain clearance before cutting and maintain the required support beneath the altered pan.
Is the offset drain available in every size?
No. In this Tolutions Supply bundle, the 60 × 36-inch pan is the only size offered with both center and offset drain configurations.
Can large-format tile be used on the shower floor?
Yes, with a layout that follows the pan’s slope. Larger pieces may require envelope cuts along pitch changes. Tile selection, mortar coverage, and drain detailing all need to be planned together.
How long should SeeLIT cure before a flood test?
Allow a minimum of 12 hours before water testing, following the manufacturer’s curing guidance and the project’s inspection requirements. Drying conditions can affect the schedule.
Does the bundle include everything needed for the bathroom?
No. It includes the core shower pan, drain, installation package, and waterproofing kit. Order the project’s tile, backer materials, setting materials, framing supplies, and other required components separately.
How much area does the waterproofing kit cover?
The included 2-gallon SeeLIT pail is listed at approximately 120 square feet of coverage. Measure walls and surrounding areas as well as the shower floor, and follow the application requirements when determining quantities.
Plan the Whole Shower Before Ordering the Parts
A reliable shower starts with a workable layout and a clear installation plan. Once the pan size, drain position, substrate, and waterproofing scope are settled, ordering becomes much simpler.
For contractors comparing options, the KurbX bundle provides a practical way to bring the core components together. Review the available configurations or contact Tolutions Supply with your dimensions and installation details before putting the material order together.


